A Guide To Cleaning The Thermocouple On Your Water Heater
Maintaining your water heater is crucial for ensuring a consistent supply of hot water in your property. One key component that often requires attention is the thermocouple. Regular water heater thermocouple cleaning can prevent malfunctioning and extend the life of your water heater. This guide will walk you through the necessary steps to clean the thermocouple, ensuring your water heating solutions continue to function effectively.
Understanding the Thermocouple
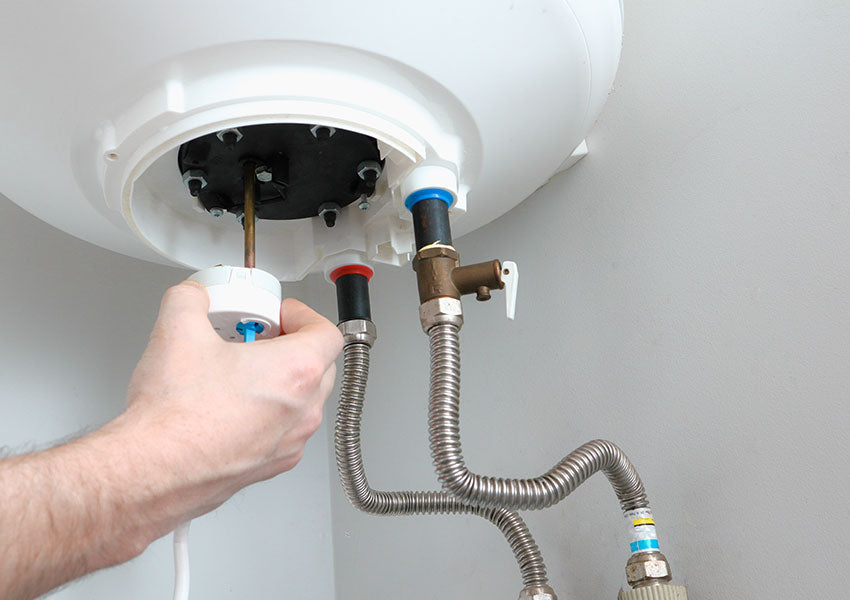
Before diving into the cleaning process, it's important to understand what a thermocouple is and its role in your water heater. The thermocouple is a safety device that senses if your pilot light is lit and allows gas to flow to the burner accordingly. Over time, this component can accumulate debris and corrosion, which can impede its function and, consequently, the efficiency of your water heater.
Preparing for Cleaning
To begin the cleaning process, gather the necessary tools: Emery cloth sandpaper, a lint-free cloth, and a screwdriver or wrench. Ensure that the gas supply to the water heater is turned off, and the unit is cool before attempting any cleaning or maintenance to prevent accidents.
Cleaning the Thermocouple
Once you have your tools and have ensured safety, follow these steps to clean the thermocouple:
- Detaching the Thermocouple: Carefully detach the thermocouple from the burner assembly. This may require unscrewing or unfastening it from its mounting position. Handle it gently to avoid any damage.
- Cleaning the Component: Use the Emery cloth sandpaper to gently scrub away any debris or buildup from the end of the thermocouple. If there is any visible corrosion, especially where the power wire connects to the terminal, clean this area thoroughly to ensure a good connection.
- Wiping the Thermocouple: After sanding, use a lint-free cloth to wipe away any residual debris from the thermocouple. It's important that the component is completely clean for it to function correctly.
Reassembling and Testing
After cleaning, the thermocouple and burner assembly need to be correctly reassembled and tested:
- Securing the Thermocouple: Reattach the thermocouple to the burner assembly, ensuring it is secure but not overly tightened, which could damage the component.
- Reassembling the Burner: Place the burner assembly back in the tank. Make sure the burner tube is properly seated in its bracket for optimal operation.
- Reconnecting Components: Thread and tighten the mounting screws or nuts to secure the burner plate. Reconnect the vapor sensor, gas valve wires, and supply tubes as necessary.
- Final Steps: Replace the burner access cover, turn on the gas supply, and plug in the water heater. Relight the pilot light and observe whether the water heater resumes its normal operation.
Cleaning Water Heater Thermocouple
Regular maintenance, including water heater thermocouple cleaning, is essential for the longevity and efficiency of your water heating system. By following the steps outlined in this guide, you can ensure that your water heater continues to provide reliable hot water. Remember, if you're unsure about any part of the process or encounter complications, consult with a professional to maintain safety and proper functionality.